Coasters create memories to last a lifetime
April 17, 2013
When first deciding what craft to do for this week’s craft column, my mind immediately went to something summer-related. Since the current situation with the weather is keeping me and everyone else inside, I had to change my approach. Instead, I went for a craft that can be done inside and still be useful in any dorm room or college apartment.
No dorm room or apartment is complete without tons of pictures to make it feel a little more like home. So, I went where any crafty girl would go . . . my Pinterest boards, of course. I searched for something that wouldn’t end up being one of those “nailed-it” attempt pins (if you don’t know what I’m referring to, Pinterest has your answer). I was hoping to find something I could easily succeed at.
Coasters with pictures Mod Podge’d onto them seemed simple and straightforward enough for me. I will warn you, however, that some patience is needed.
Things you will need:
1. 4-by-4 ceramic tiles (found at Lowes for less than a dollar)
2. Mod Podge
3. Foam or sponge brushes
4. Clear acrylic sealer (Mod Podge brand is fine)
5. Small felt circles (like the ones that go under furniture legs)
6. Pictures printed on photo paper
Step One:
To begin, print off the pictures that you want to make into coasters. I advise you to pick extras so that you have some options and you can test them out to see how they will look. Remember that the tiles are a lot smaller than the average 4-by-6-inch picture, so you will have to cut them down.
Lay out all of your supplies and cut down your pictures to the size that fits the coaster. I left a small border around the picture, but you can fill the whole thing if you so choose.
Step Two:
Mod Podge the back of the picture and smooth it out on the tile. Let dry for about 10 to 15 minutes.
Step Three:
Again, using the foam brush, put a layer of the Mod Podge across the whole tile, over the top of the picture. This seals the picture down to the tile. I suggest going one way — for example, horizontally — because it will leave streaks. Let dry until the Mod Podge is clear again and dry to the touch. Repeat this process once again going the opposite direction. Let dry.
Step Four:
Once you have two layers of Mod Podge across the picture and tile and it is completely dry, take to a well-ventilated area (preferably outside) and spray a light coat of the clear acrylic sealer. This prevents your cup from sticking, and also prevents cup rings.
Step Five:
Once everything is completely dry, flip over and place a small felt circle on each corner of the bottom of the tile. This keeps the coaster from scratching the surface it sits on.
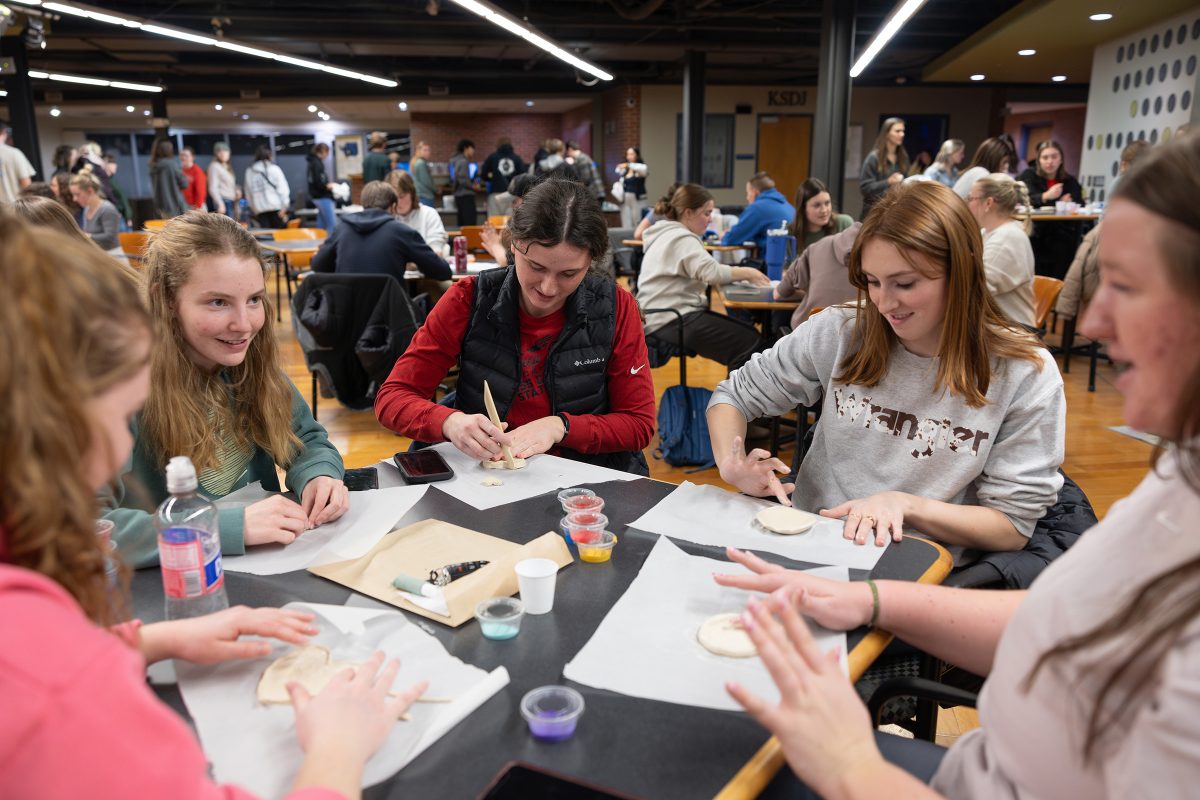
I would let your coasters sit overnight just to be sure that they are completely dry, and you can do as many coats of the sealer as you feel is necessary. This craft requires a lot of patience so that each step completely dries before continuing. I also found that a paper cutter is very useful when trying to trim down the pictures, since it helps the edges to be straight. If you are feeling brave, as my friends were, you can even break out the glitter and Mod Podge some borders of glitter around the pictures. Just be sure to use a separate foam brush, because the glitter tends to get everywhere. Once completed, the coasters look great, and they bring back great memories.


