


CRAFT OR CRAP: DIY RACERBACK PERFECT FOR TAILGATING
September 4, 2013
Here at The Collegian, we are starting a new column we like to call, “Craft or Crap?” With many of us staff members using the website Pinterest, we decided to pick a project from one of our Pinterest pages every week to see if the project really turns out as the tutorial says it does. Nothing can be more frustrating than wasting your time on a project only to find it doesn’t turn out the way you planned. Thus the beginning of “Craft or Crap?”
With the school year just beginning, I decided to pick a project from my Pinterest page that you can easily whip up, and that promotes school spirit. So, I went with the Do-It-Yourself Racerback. I pinned the tutorial on my “Gotta Try This” page and when I saw it, I immediately wanted to try it.
What you need:
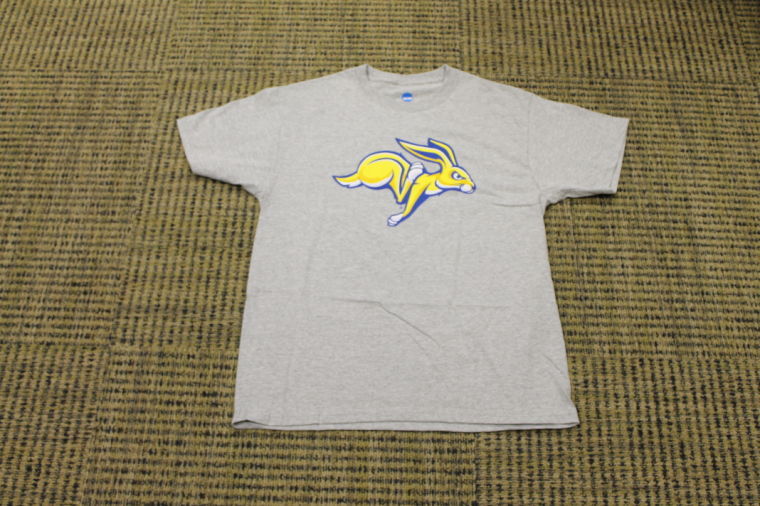
1. A T-shirt (preferably one a size larger than you typically would wear)
2. Scissors
3. A marking utensil
4. Ribbon
Step One:
Lay out your T-shirt and begin marking lines for the neck and arms. When marking the lines, keep in mind that you can always cut off more, so make the lines higher than you think you’d typically wear them. I made the straps of my tank top three fingers thick and marked the arms down to the seam that connects the sleeve to the side.
Step Two:
Cut on the lines to form your neck and arm holes.
Step Three:
Mark the bottom hem lines to your racerback. The shortest point on your shirt will be where the hem hits on the front while wearing. Mark the lines until they hit the sides of your shirt.
Step Four:
Cut the bottom line to form the hem of your shirt. The sides of the hem should be cut off before the original stitched hem so it won’t look frayed and jagged.
Step Five:
Put on the shirt and tie the ribbon into a bow on your lower back. Then, viola! You have yourself a racerback!
Tip:
Wash the shirt before wearing. If you missed any lines while cutting, the marks should wash out.
Verdict:
We say it’s a great craft!