


How to: Origami butterflies
November 5, 2019

Step one: Fold your piece of paper or sticky note diagonally. If you are using a sticky note, keep the glue part on the inside as you fold.
Step two: Unfold your first diagonal crease, then fold the paper diagonally the other direction.
Step three: Unfold your second diagonal crease, and fold the paper across horizontally.
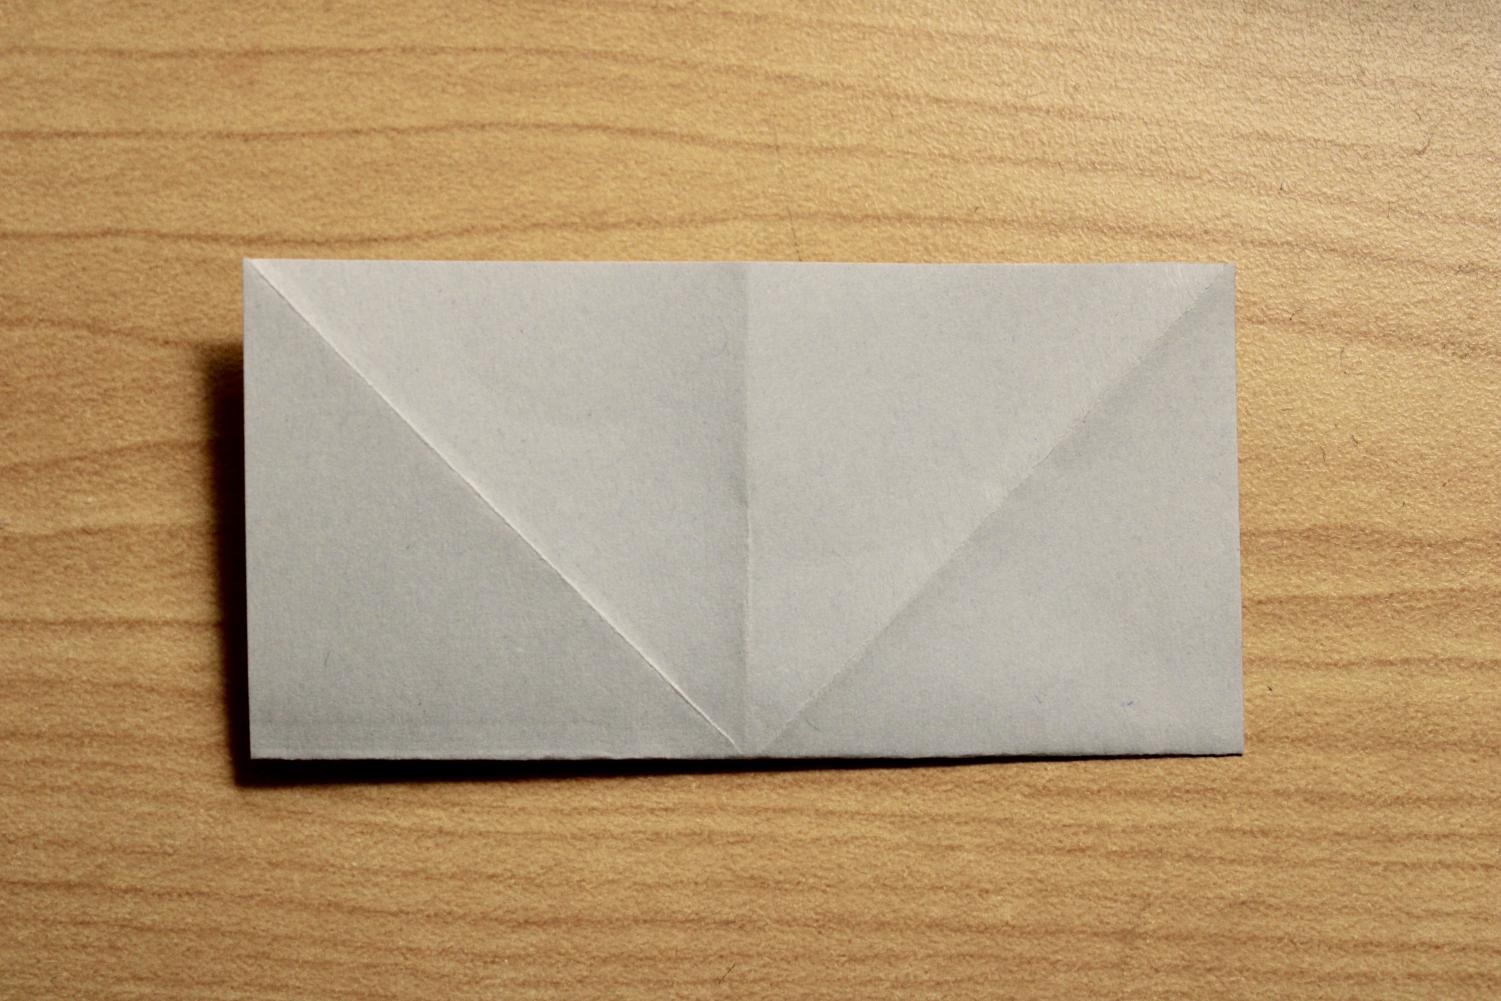
Step four: Unfold your first horizontal crease, then fold it horizontally toward the other side. At the end of this step, unfold that crease.
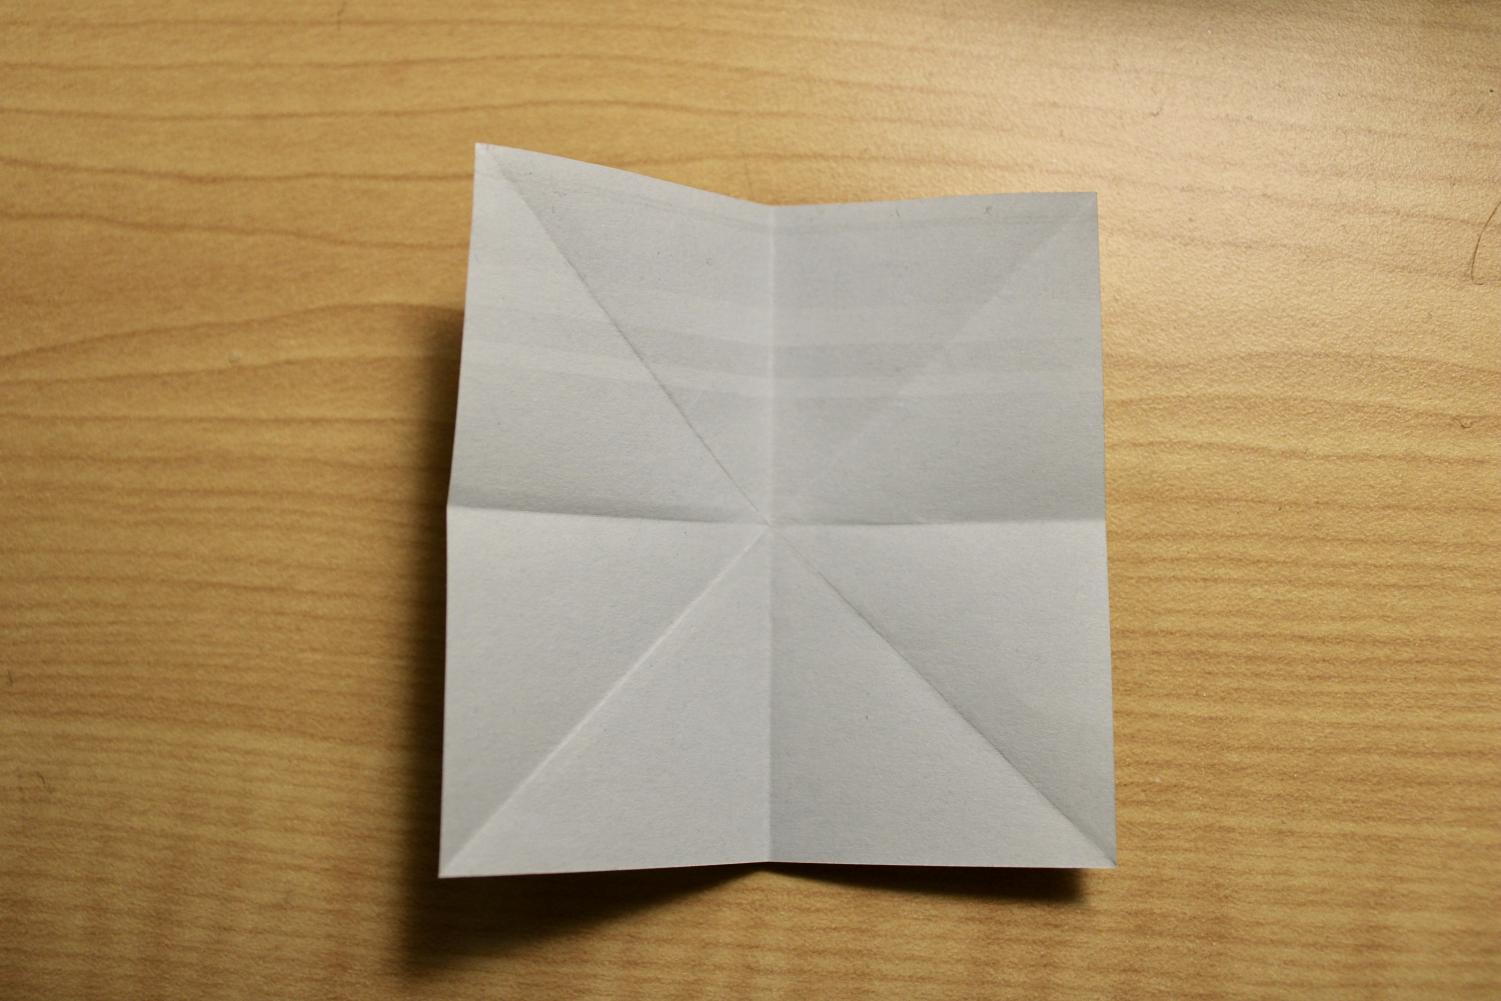
Step five: Now you should see a snowflake-like shape made out of the four creases on your paper. Take your paper and fold it one of the horizontal ways.
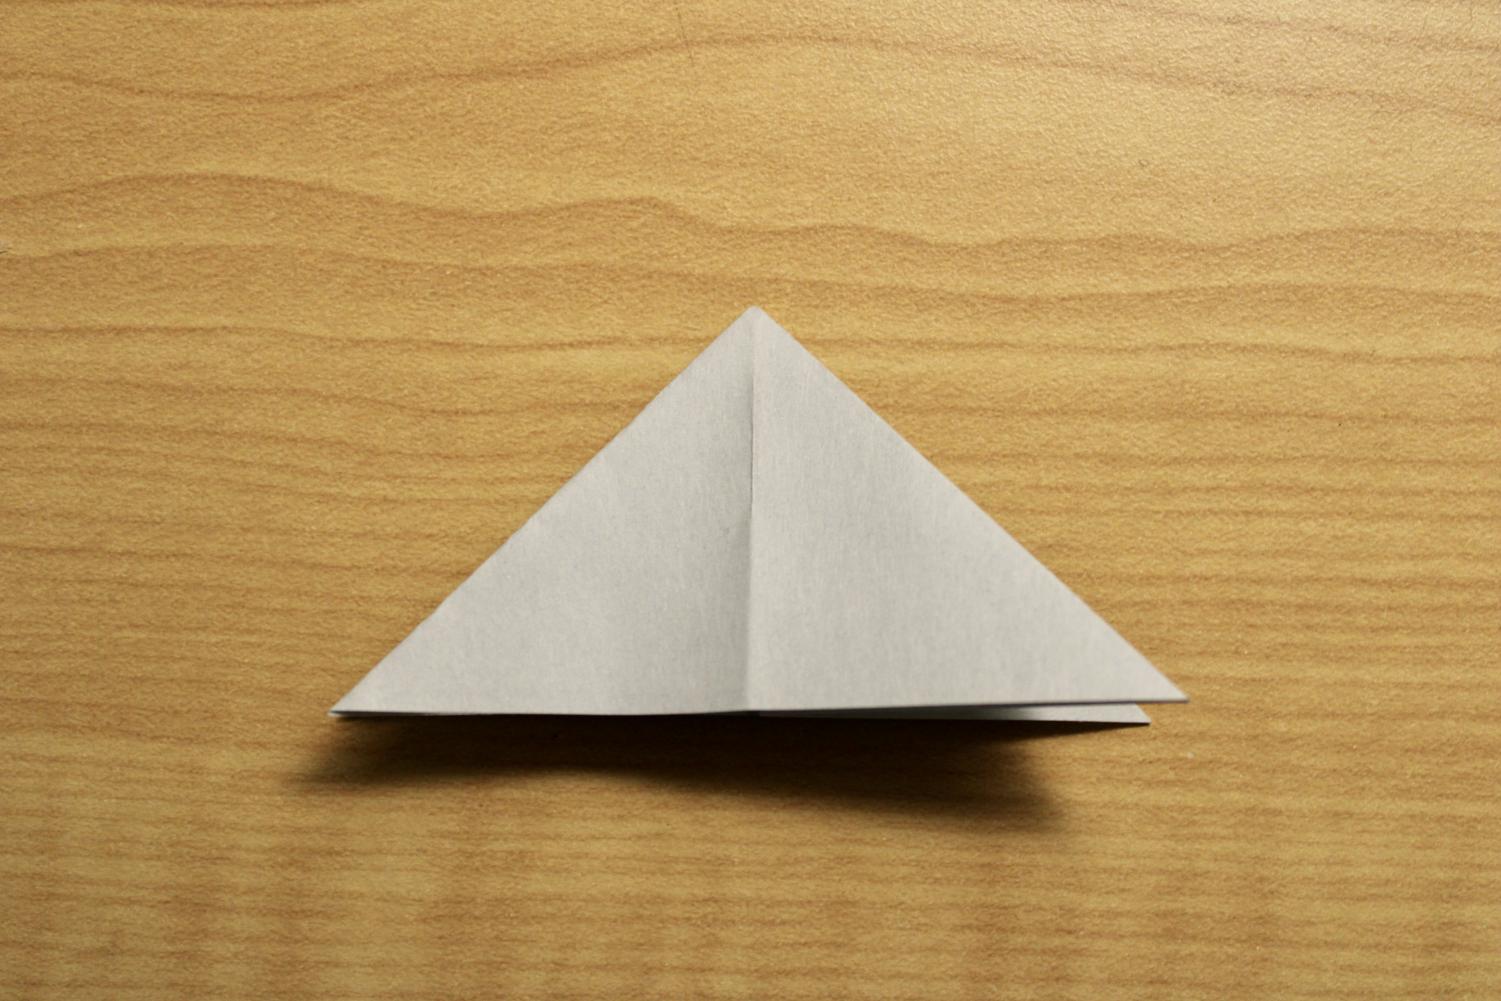
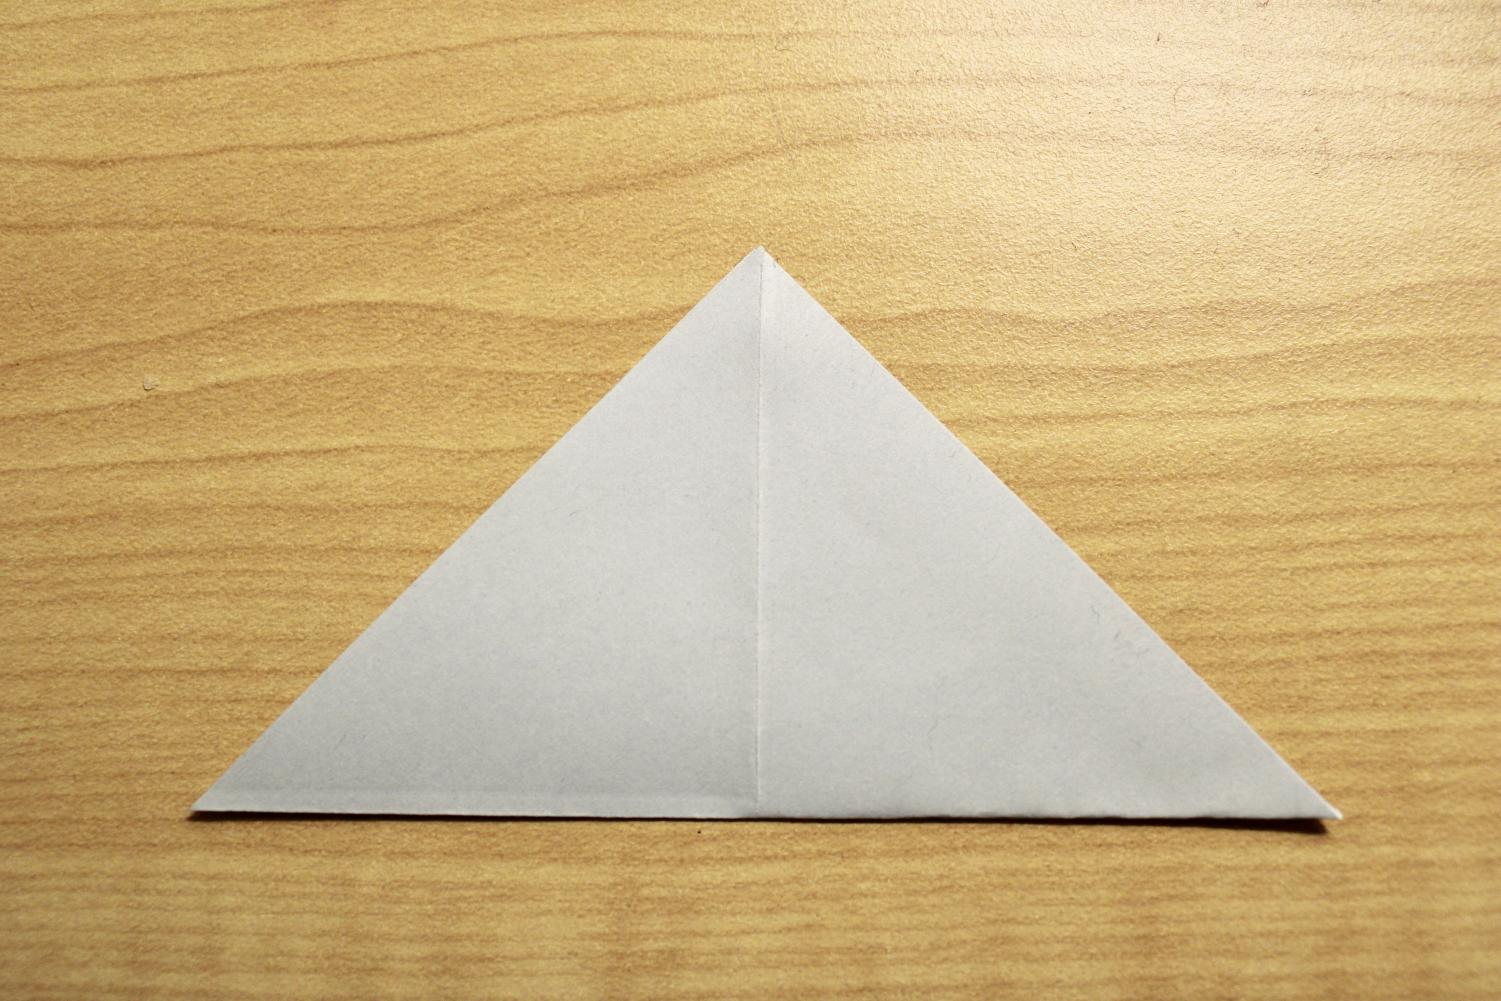
Step six: Take the creased edges of the horizontal fold and push both of them inside of the paper. This should create a triangle.
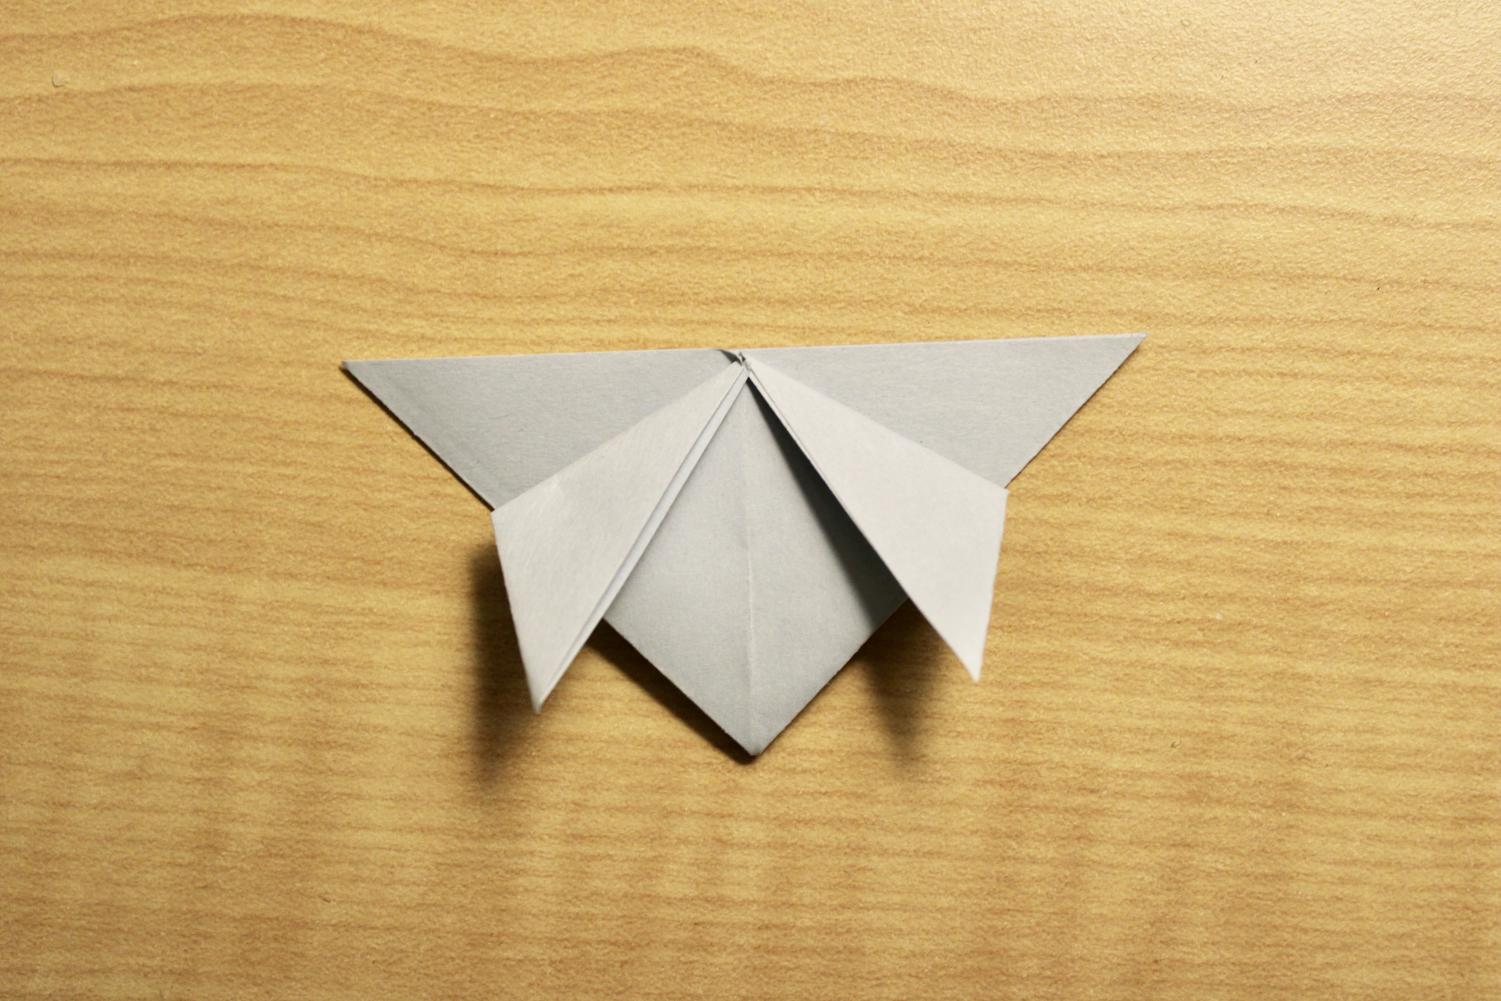
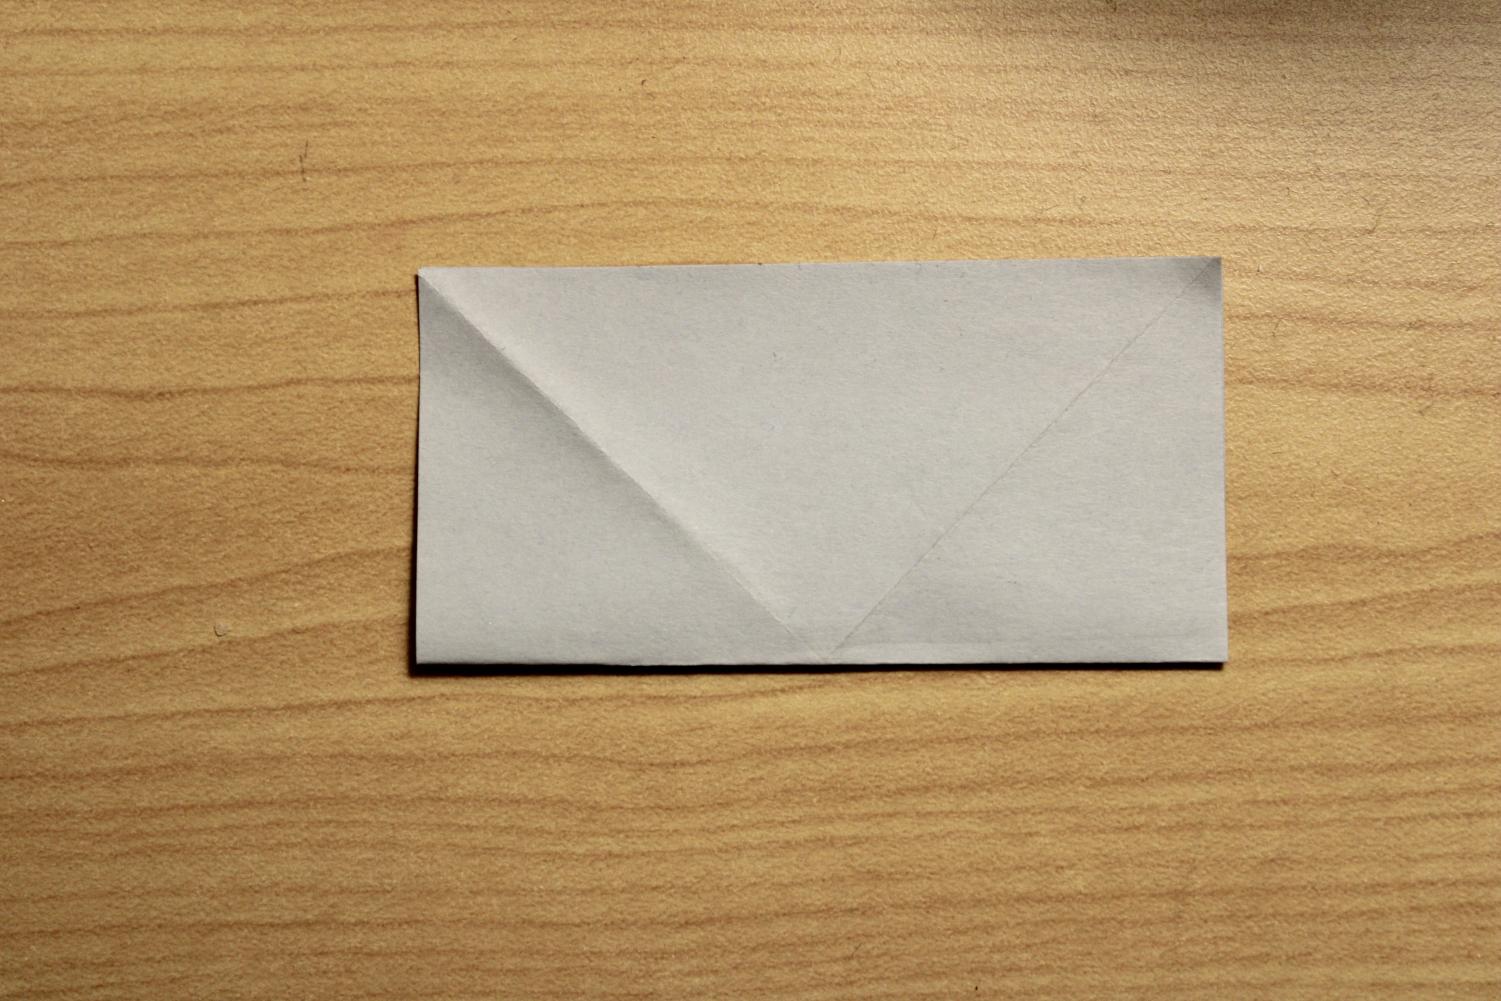
Step seven: Turn the triangle so it faces downward. The triangle has four flaps, so take the front two flaps (one flap on each side) and fold them downward at about a 45-degree angle.
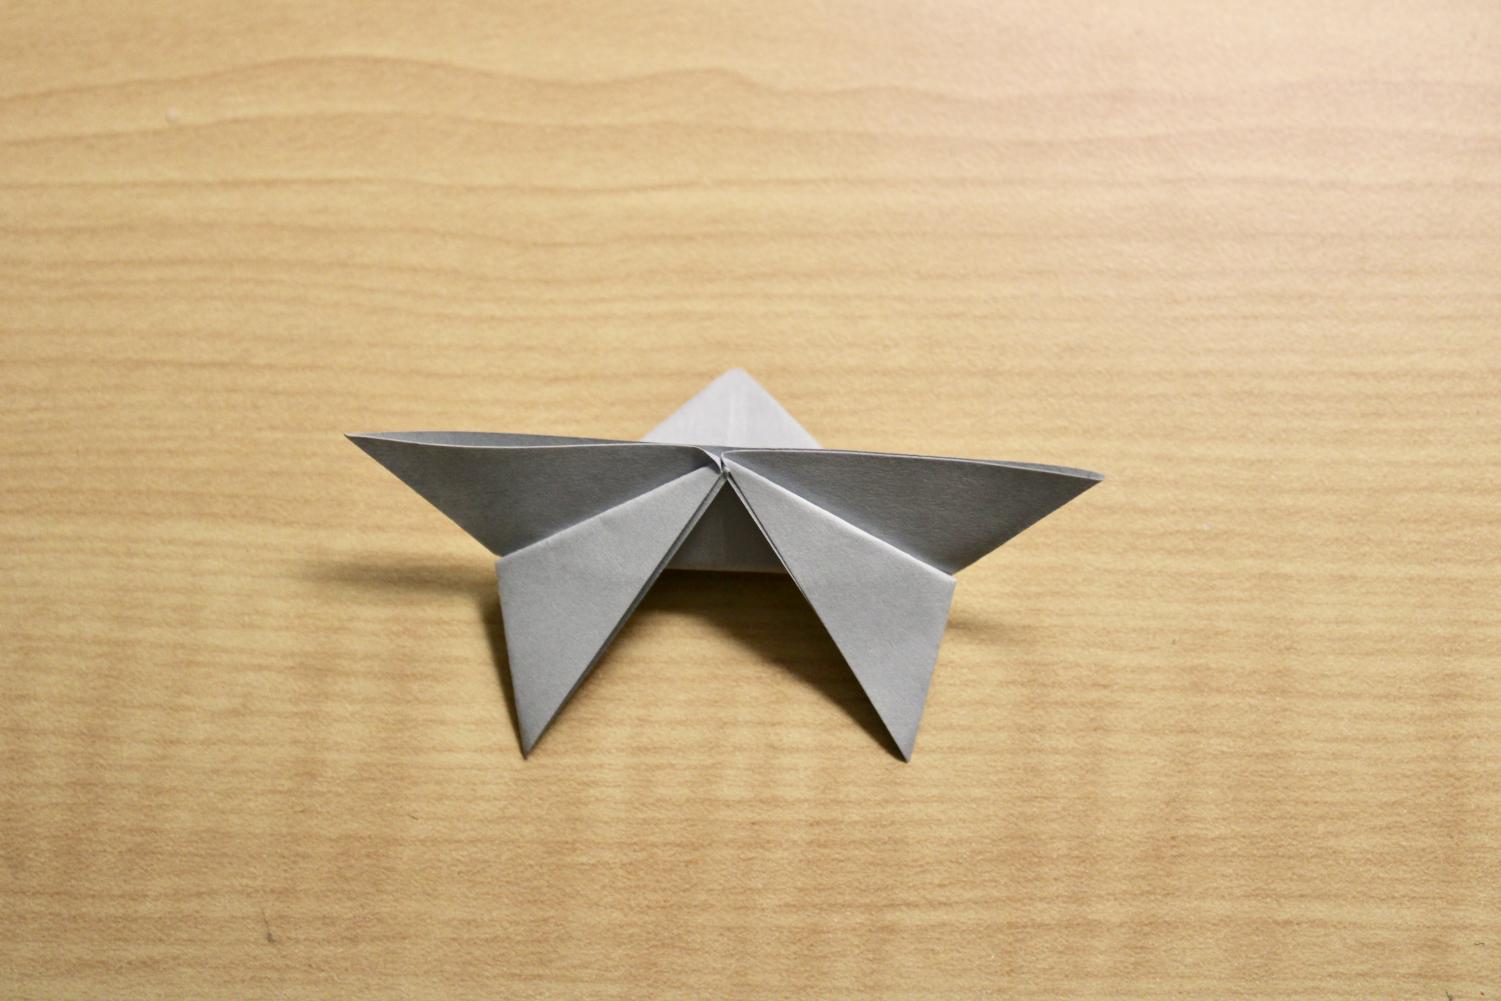
Step eight: Take the bottom point of the paper and fold it around the back of the wings creating a crease at the back.
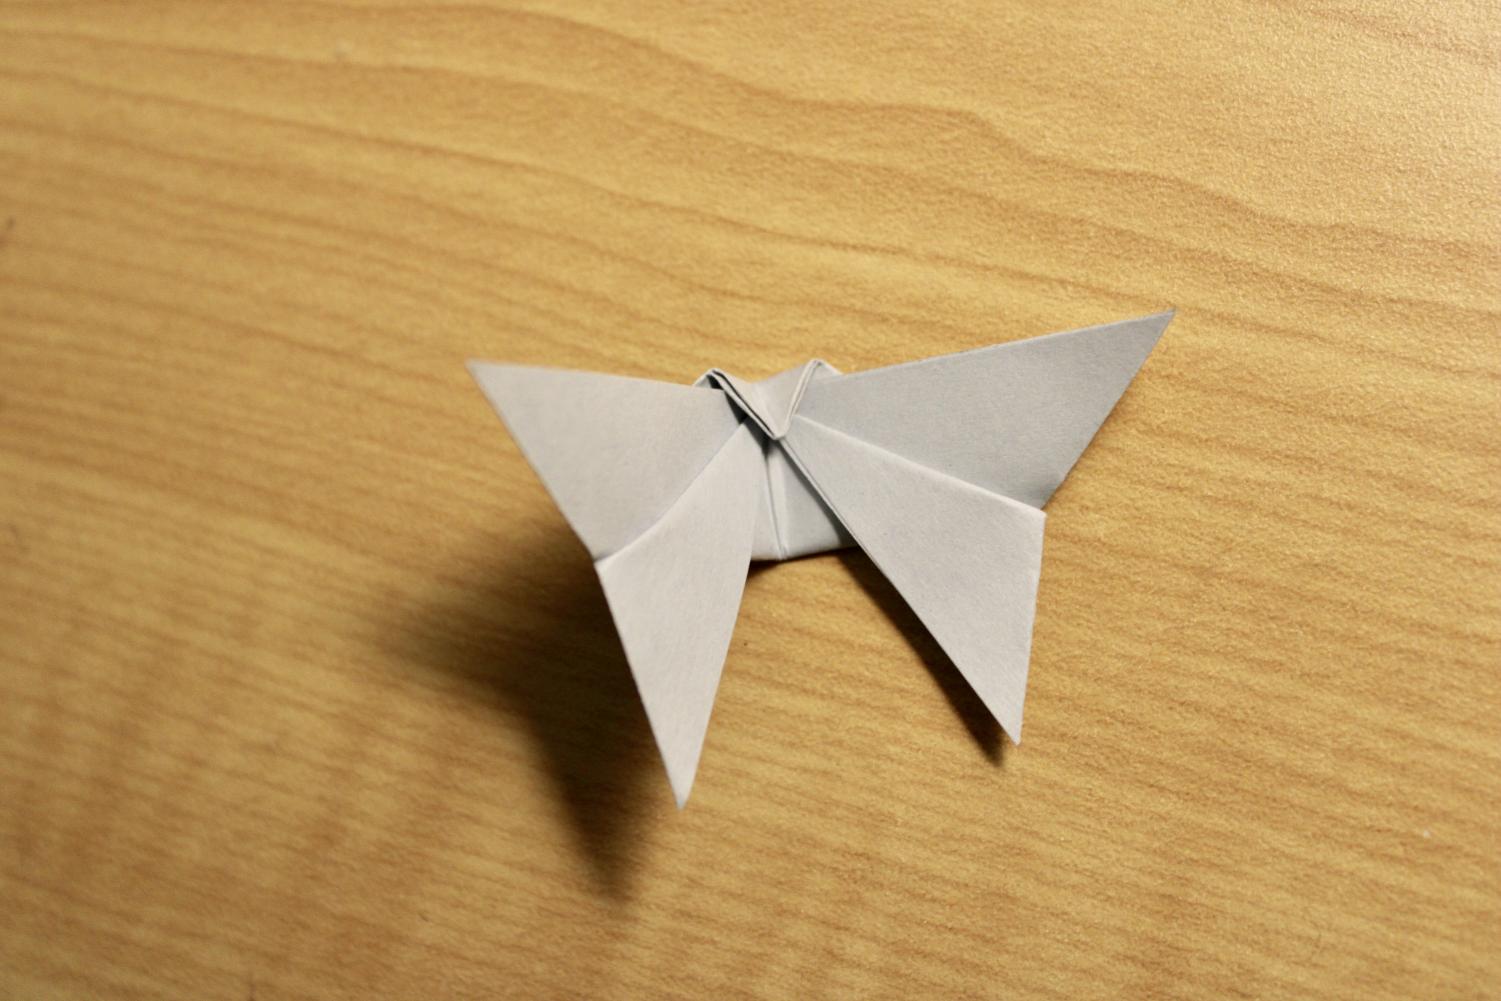
Step nine: Take that point and fold it down over the top in front. Then finally, fold the entire butterfly at the middle crease for stability.
You should now have an Origami butterfly!